Column · @myradoncrawlspaceinsider
Why Radon in Crawl Space Homes Needs a Different Mitigation Approach
I have spent enough time in crawl spaces to know they are not the most pleasant part of the job. Tight, dusty, and often damp, they present a unique set of challenges when it comes to radon mitigation. While the general public often thinks of radon as a problem for basements, the reality is that a crawl space can be just as effective at drawing soil gas into a home. The physics are the same: a pressure difference between the soil and the house pulls radon-laden air through cracks and openings. But the construction of a crawl space, with its low clearance and exposed earth, changes the way you approach the solution.
I have worked on many homes in St. Louis where the only access to the sub-slab area is a small hatch in a closet floor. You drop down into a space that is maybe two feet high, crawl over gravel and dirt, and try to assess the situation with a flashlight and a dust mask. It is not glamorous, but it is necessary. The key difference between a basement and a crawl space is that you cannot simply install a standard sub-slab depressurization system the same way. The geometry of the space, the presence of moisture, and the type of flooring above all influence the design.
When I first started doing this work, I thought a crawl space would be easier because it was more open. I quickly learned the opposite was true. The exposed soil in a crawl space often means a larger surface area for radon to enter, and the lack of a poured concrete floor means you cannot rely on a traditional suction point. You have to think about the radon in crawl space differently than you would in a finished basement. The soil gas is seeping up through the dirt, and without a solid slab to seal, you have to create a barrier and a vacuum pathway that works with the existing conditions.
Understanding the Crawl Space Environment
Before you can mitigate, you need to understand what you are dealing with. A crawl space is essentially a shallow basement with a dirt or gravel floor. In many older St. Louis homes, the crawl space was never intended to be a living area. It was just a void under the house to allow access to plumbing and electrical. Over time, the soil settles, and the foundation walls develop cracks. This creates a direct path for radon to enter the home through the floor above.
The first step is always a reliable radon test. I prefer to use a continuous radon detector that logs readings over several days, because radon levels can fluctuate with weather and barometric pressure. A single short-term test might give you a false sense of security or an exaggerated worry. I have seen homes in the St. Louis area where the initial test showed 4 picocuries per liter, but after a rainstorm the levels spiked to over 20. That kind of variability is common, and it underscores the need for a thorough assessment before designing a system.
Once you confirm elevated levels, you have to decide how to address the radon in crawl space. The most effective method I have found is a variation of active soil depressurization, but adapted for the crawl space geometry. In a basement with a concrete slab, you drill a hole and create a suction point under the slab. In a crawl space, you often have to install a polyethylene vapor barrier over the dirt floor, seal it to the walls and piers, and then create a suction point through the barrier. This is essentially a large-scale sealed sump hole, but instead of a single point, you are covering the entire floor.
Installing a Vapor Barrier System
I remember one particular job in a St. Louis suburb where the homeowner had tried everything: sealing cracks, improving ventilation, even replacing the crawl space door. Nothing worked. When I crawled under there, I could see the problem immediately. The dirt floor was completely exposed, and the house was sitting on a bed of gravel that acted like a chimney for soil gas. The air pressure in the crawl space was lower than the soil pressure, so radon was being forced up through the gravel and into the house through every gap in the subfloor.
The solution involved laying a heavy-duty polyethylene vapor barrier over the entire crawl space floor. This is not a simple job. You have to overlap the seams by at least 12 inches and seal them with proper tape. You also have to seal the barrier around every pier, every pipe, and every foundation wall. I use a high-quality caulking for that, something that stays flexible and adheres to concrete and plastic. Once the barrier is down, you cut a hole in it to expose a small area of soil, dig a shallow pit, and install a suction point connected to a radon fan that vents through the roof of the house.
The fan creates negative pressure under the vapor barrier, pulling the radon-laden air from the soil and exhausting it safely above the roofline. This is the same principle as sub-slab depressurization, but applied to a crawl space. The key difference is that the vapor barrier acts as the slab. Without it, the fan would just pull air from the crawl space itself, which does nothing to stop the radon from entering the house. The barrier forces the suction to draw from the soil, not the room.
Verification and Monitoring
After the system is installed, the work is not done. I always perform a post-installation verification to confirm that the system is performing as designed. This involves running the fan for at least 24 hours and then conducting another radon test. I also install a manometer, specifically a U-tube manometer, on the suction pipe. This simple device shows the pressure difference between the pipe and the crawl space air. If the manometer reads zero, the system is not working. If it reads a few inches of water column, you know the fan is actively pulling from the soil.
I have seen systems where the homeowner thought everything was fine because the fan was running, but the manometer showed no pressure. The fan was just spinning, not creating any suction. That is why a manometer is essential. It is a cheap, low-tech tool that tells you immediately if the system is functioning. I also recommend using a continuous radon detector for a few weeks after installation to make sure the levels stay low. A single test can be misleading, but a week of data is reliable.
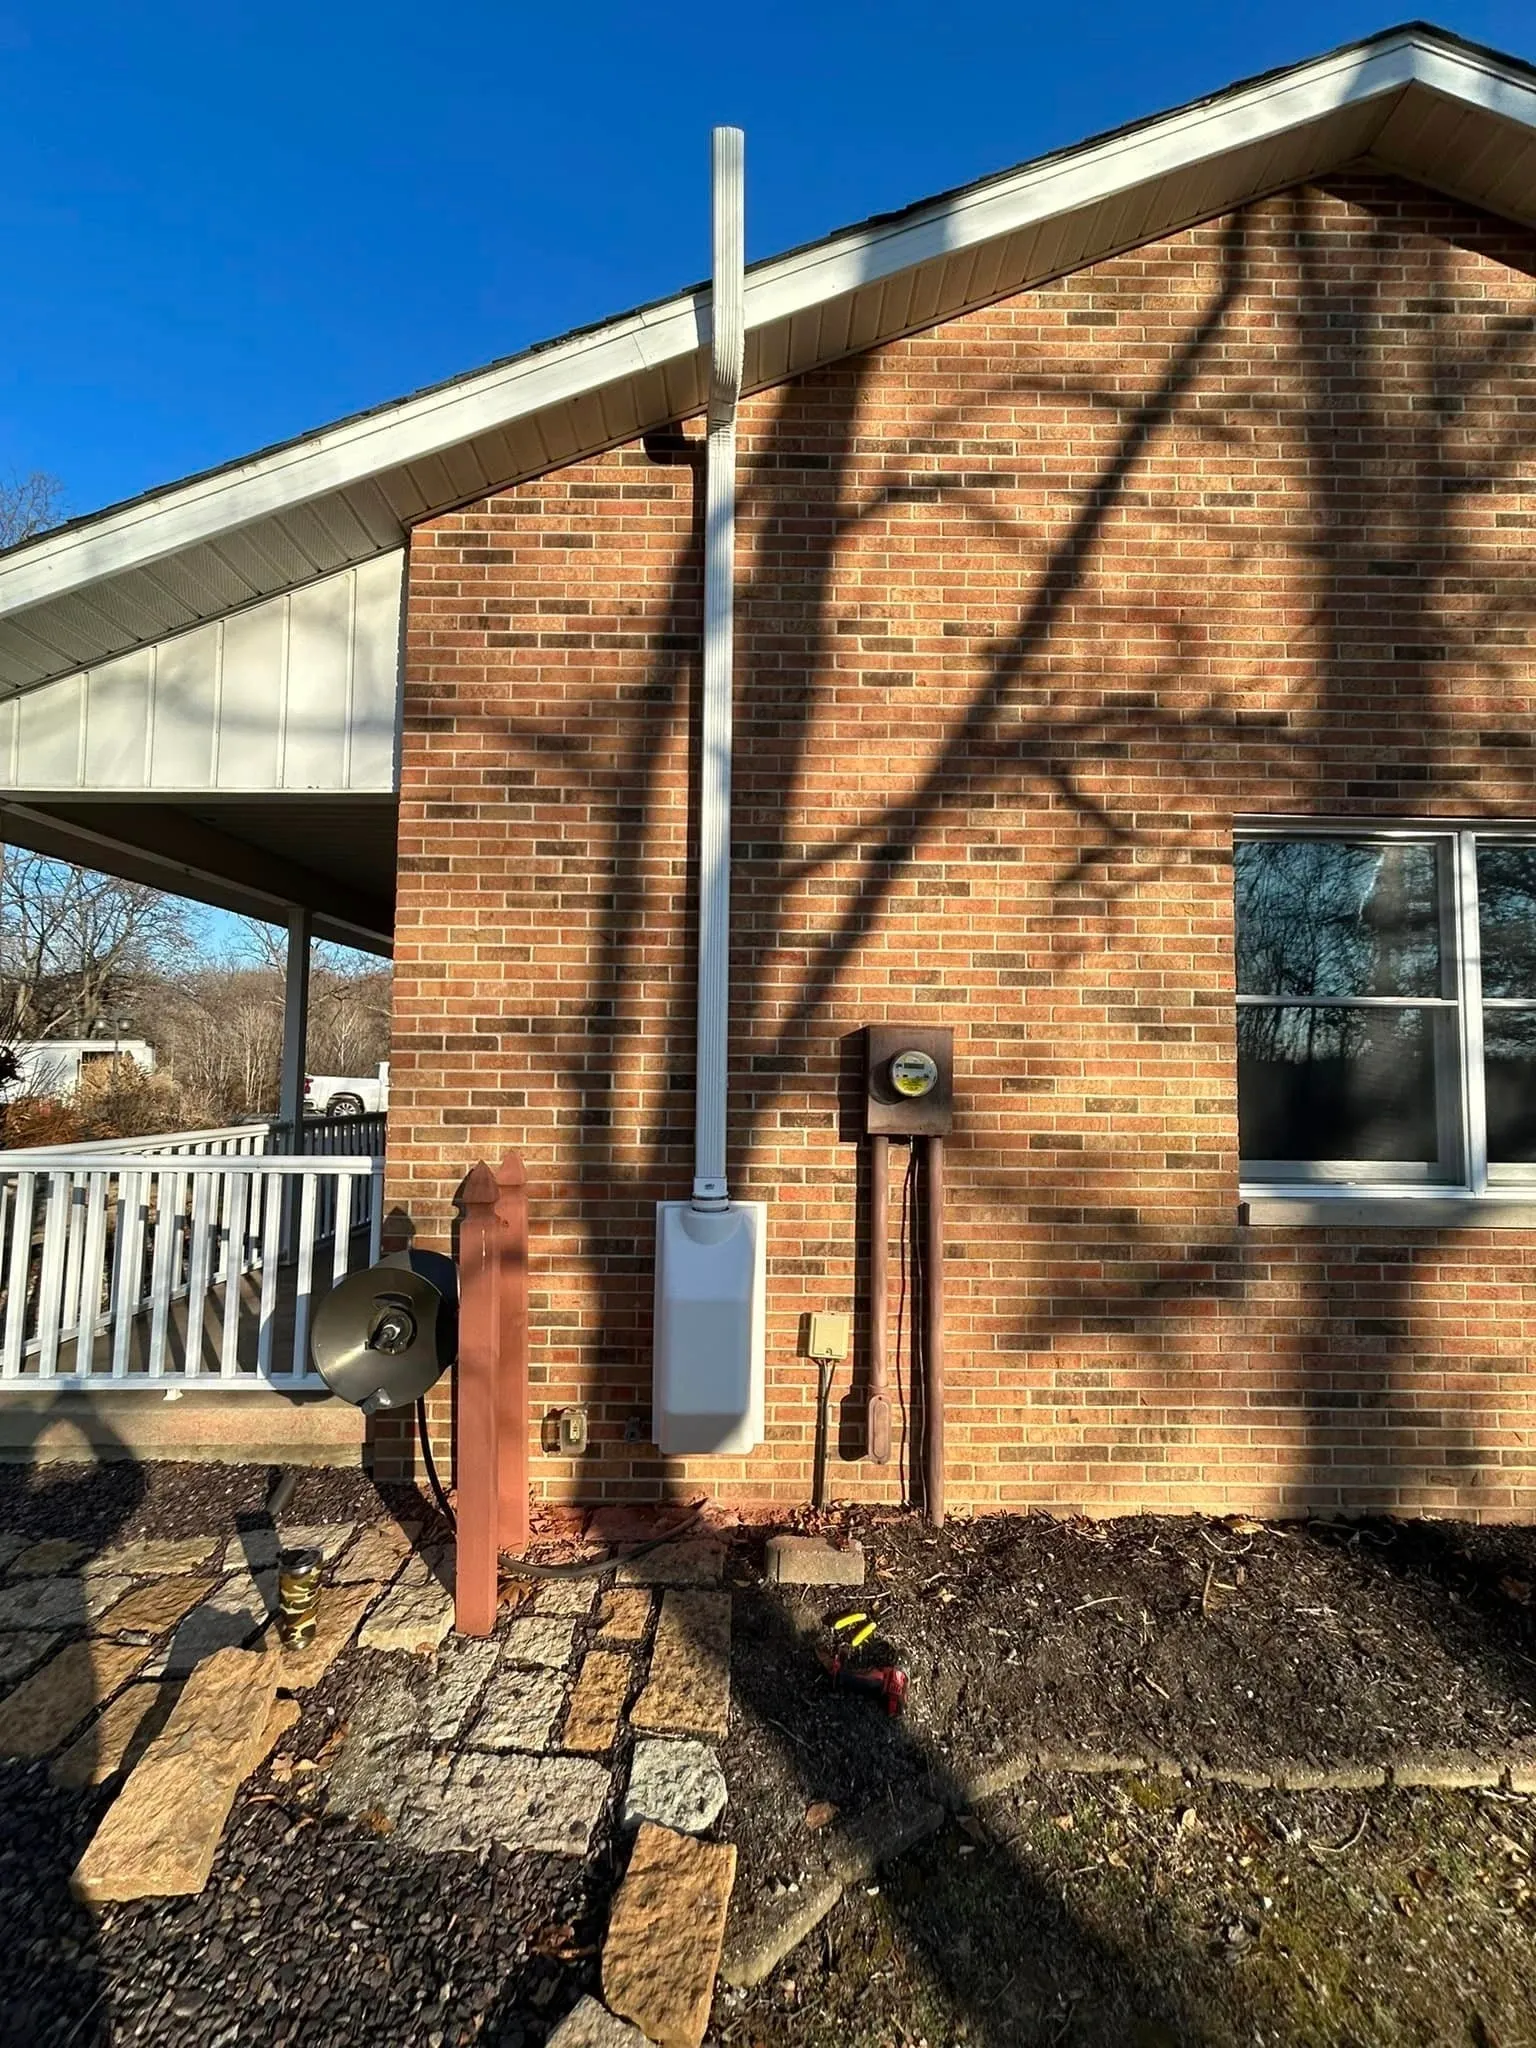
The EPA recommends mitigation systems be tested every two years, but I prefer to check mine annually. Conditions change. The ground settles, the vapor barrier can develop small holes, and the fan can wear out. Regular monitoring catches problems early. I have also seen cases where a homeowner accidentally punctured the vapor barrier while storing boxes in the crawl space, and radon levels shot back up. A quick patch with tape and caulking solved it, but without the post-installation verification, they would not have known.
Weighing the Options
Not every crawl space needs a full vapor barrier system. Sometimes the problem is more localized, and a sealed sump hole in the right spot can be enough. But in my experience, the vapor barrier approach is the most reliable for high radon levels. It is also the most thorough. The downside is cost and labor. Laying a vapor barrier in a tight crawl space is physically demanding, and it takes time. But for homes with persistent radon issues, it is worth it.
There are other approaches, like increasing ventilation in the crawl space or using a heat recovery ventilator to dilute the radon, but these are less effective in cold climates or in homes with tight construction. They also do not address the source of the radon, which is the soil. I prefer to stop the gas at the ground, not just move it around. That is why active soil depressurization, whether under a slab or under a vapor barrier, is the gold standard.
Foundation repair is sometimes necessary before mitigation. If the foundation walls are cracked or the piers are shifting, sealing the vapor barrier to them is pointless. The gaps will just allow soil gas to bypass the barrier. In those cases, I recommend addressing the structural issues first. A good foundation contractor can seal the walls and install proper drainage to reduce moisture, which also helps with radon control. Moisture in the soil increases the pressure that drives radon into the house, so keeping the crawl space dry is part of the solution.
I also always provide a mitigation system warranty that covers the equipment and the labor for a set period. The fan itself usually has a five-year warranty from the manufacturer, but I back that up with my own work. If the manometer ever shows no pressure, I will come back and fix it. That kind of assurance matters to homeowners who are worried about radon health risk. They want to know that the investment in their health is protected.
Final Thoughts on Crawl Space Radon
Radon in crawl space environments is not a mystery, but it does require a tailored approach. The principles of soil gas movement and depressurization are the same, but the execution is different. You have to be willing to get dirty, to work in tight spaces, and to think creatively about how to create a seal and a vacuum pathway. It is not the easiest work, but it is some of the most rewarding. When you see a radon test result drop from 15 pCi/L to below 2 pCi/L, you know you have made a real difference in someone's health.
If you own a home with a crawl space in St. Louis and you suspect radon is an issue, the first step is a good radon test. Do not rely on a single short-term test. Use a continuous radon detector or a long-term test kit. If the levels come back high, call a professional who understands the specific challenges of crawl spaces. Companies like Air Sense Environmental have the experience and the equipment to design a system that works. They will not just install a fan and leave. They will verify the system, monitor it, and stand behind their work with a warranty.
Radon is a serious health risk, but it is a manageable one. The key is to treat each home as unique, to use proven methods like active soil depressurization and vapor barriers, and to verify the results with a manometer and follow-up testing. A crawl space does not have to be a source of worry. With the right approach, it can be just another part of the house that is working to keep your family safe.